How To Add Print-on-Demand Products to Your Shopify Store
The following content describes how a user with a Shopify integration can add products to their store.
*This feature is only available to customers with a Shopify integration
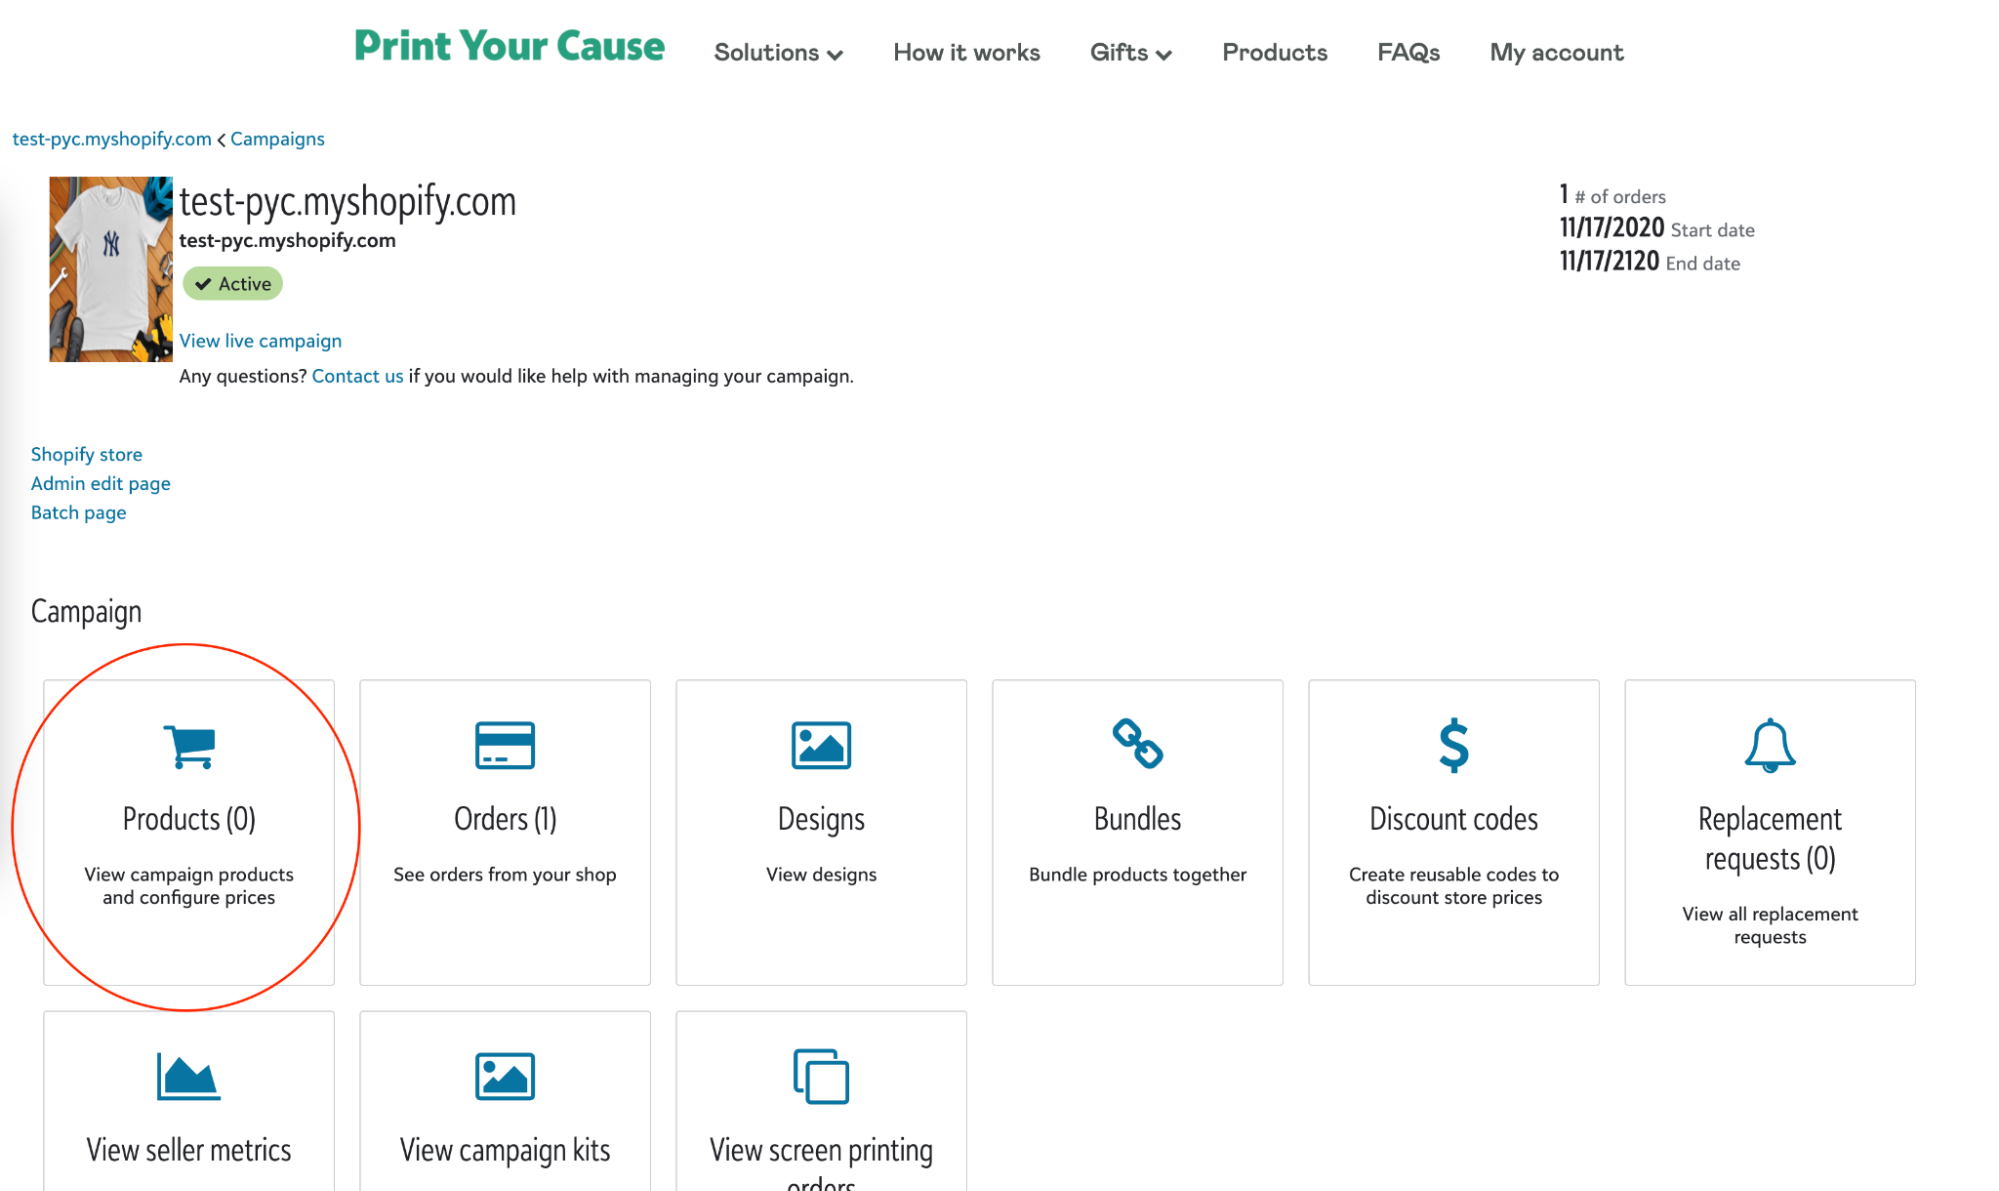
1. Start on your PYC campaign page and click the products tile.
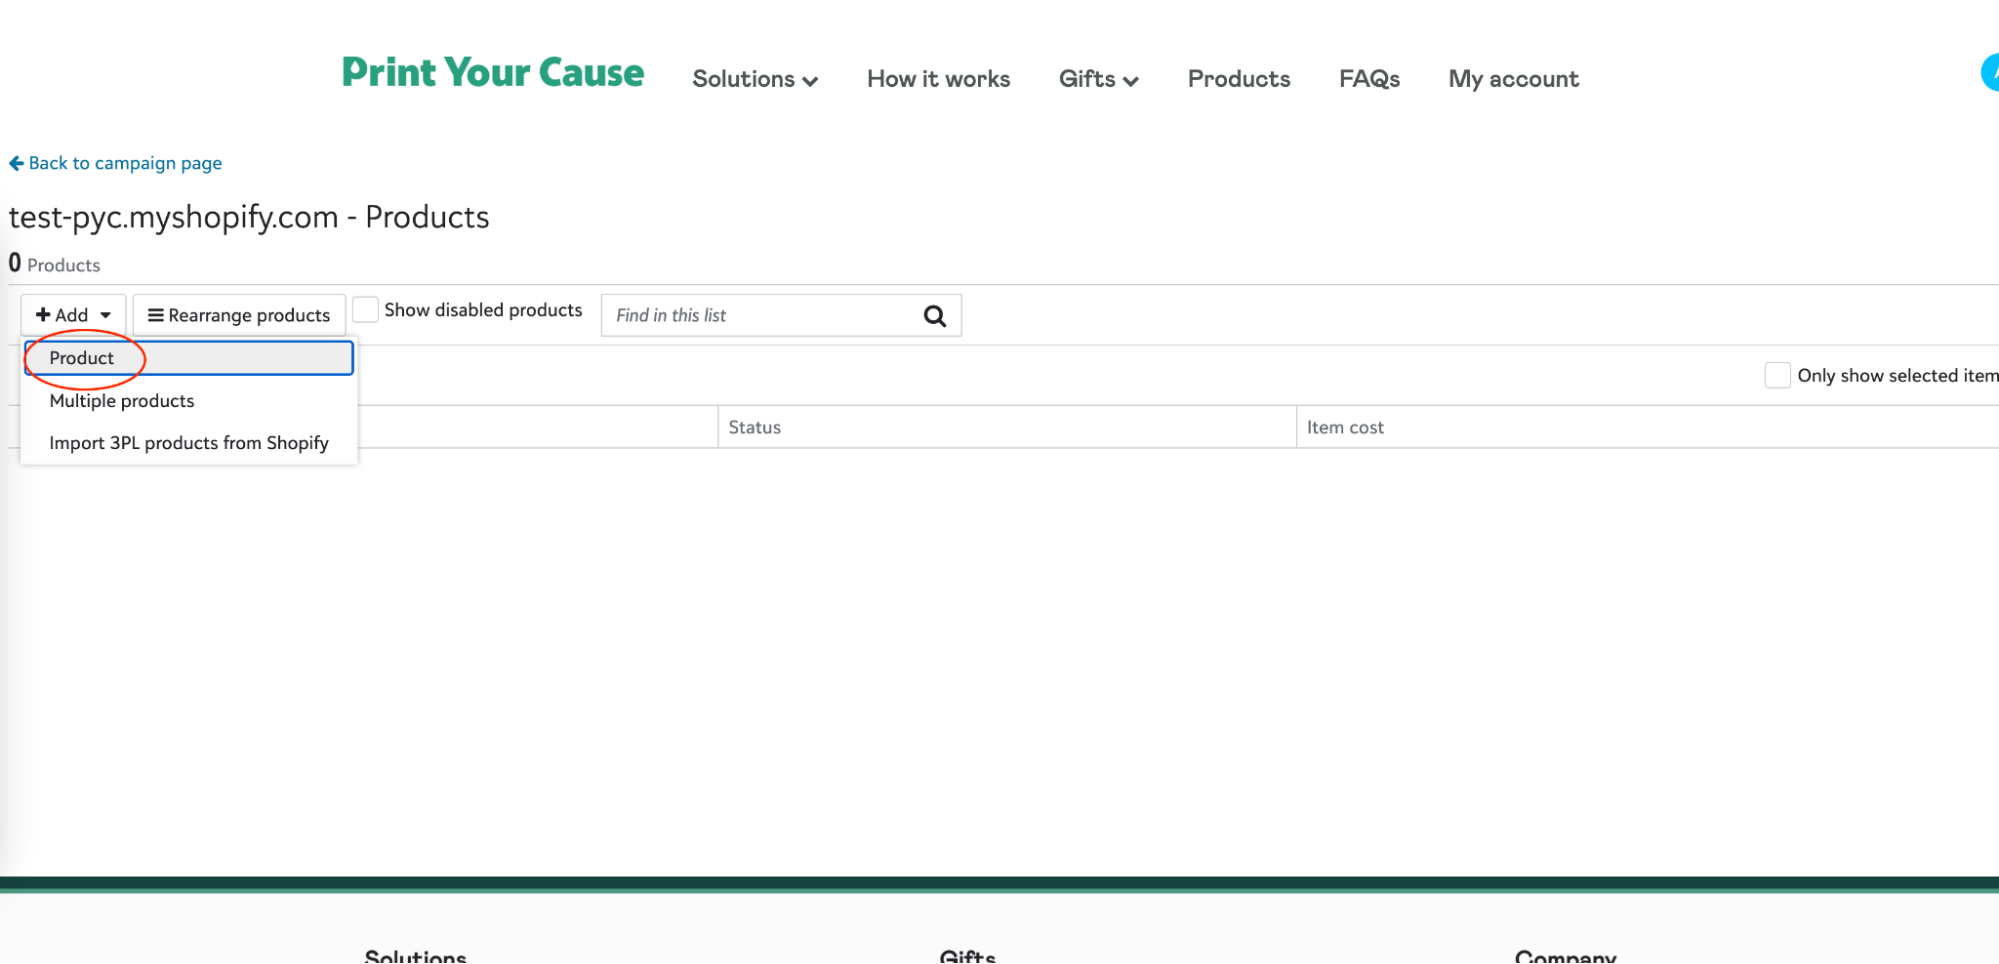
2. On the products page click “Add product”
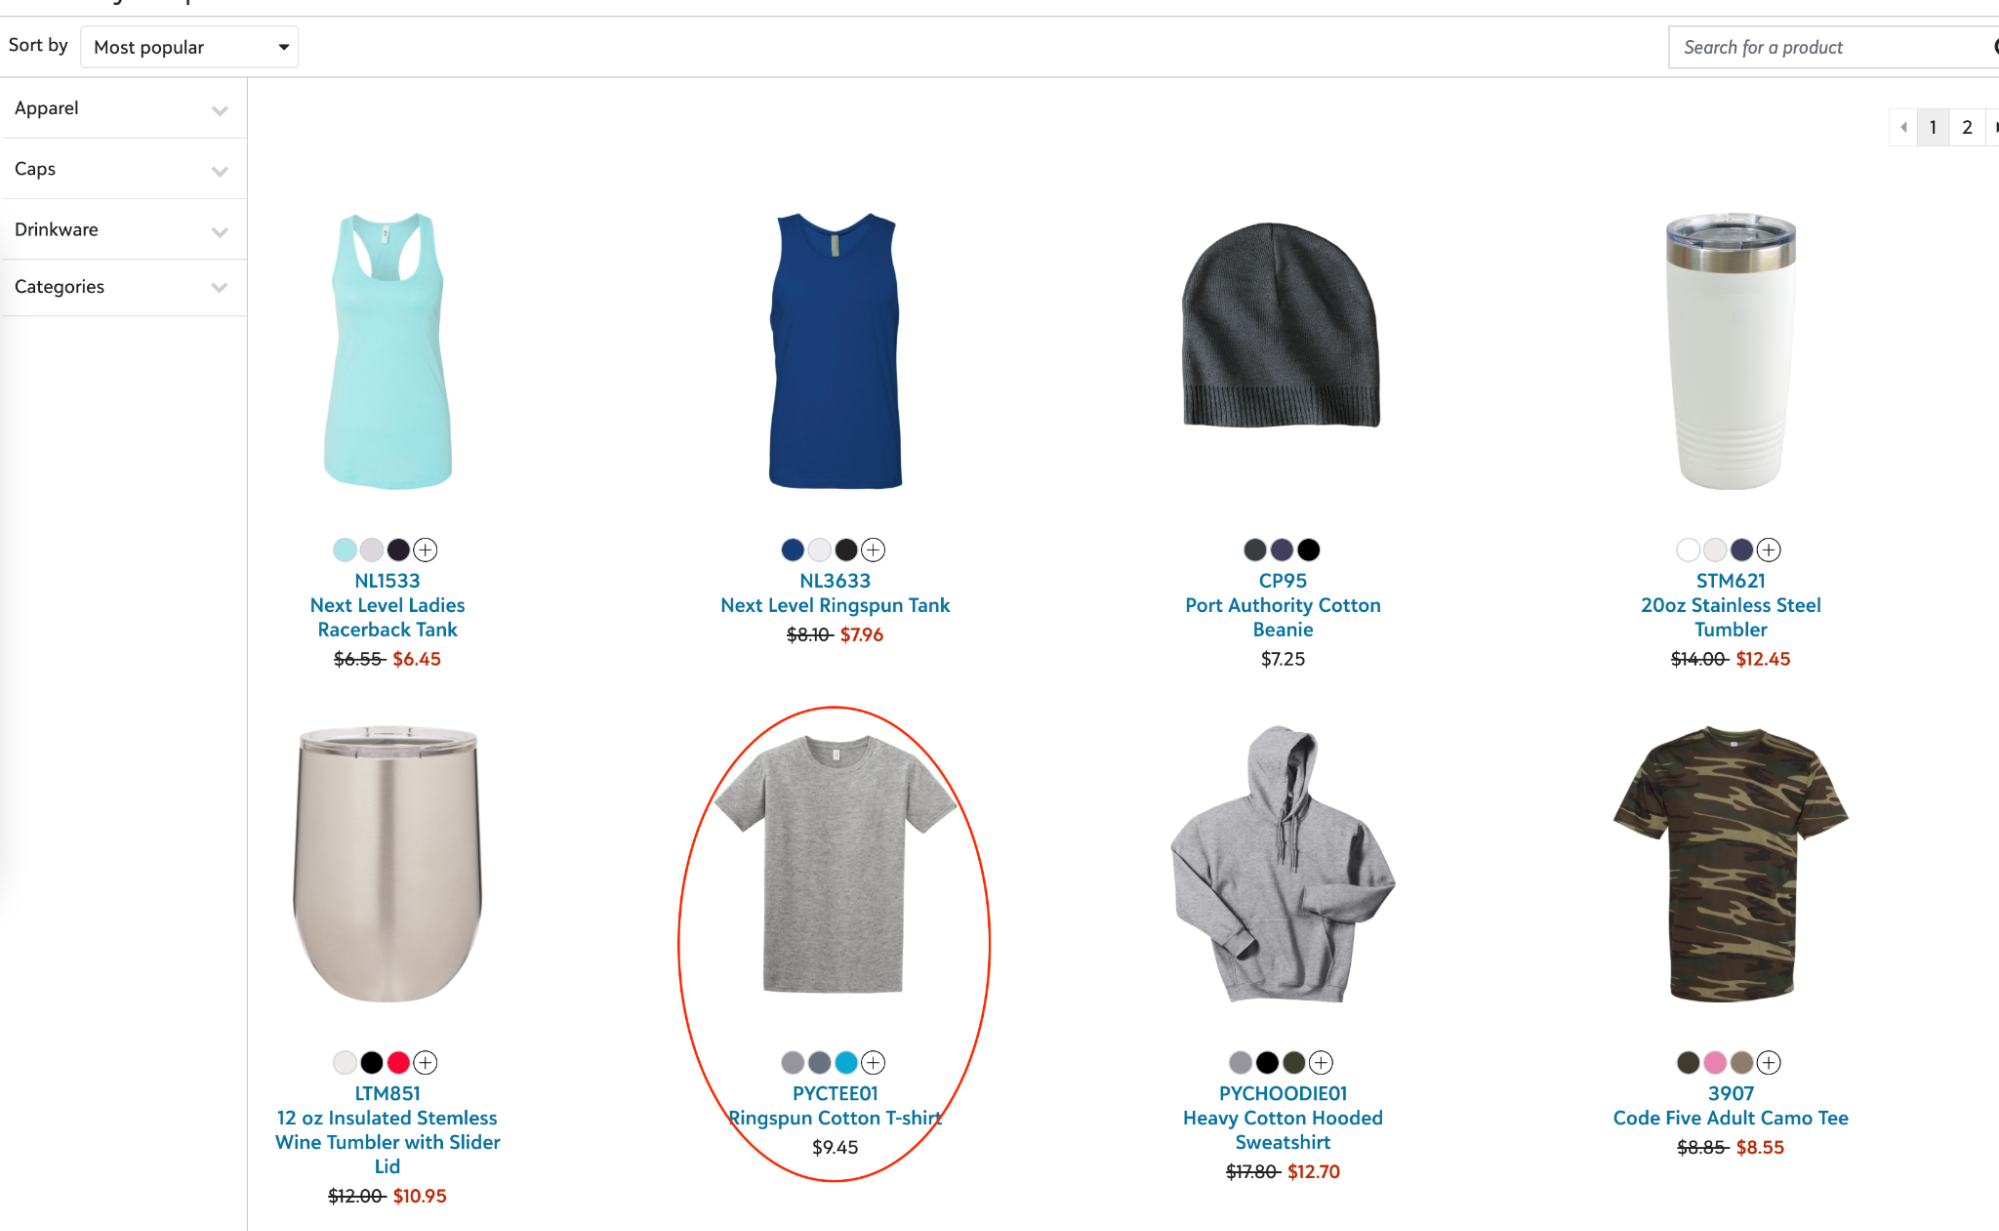
3. On this page you will be able to select from a variety of products. In this example we will select the “PYCTEE01” product.
4. After selecting the product you will be presented with a designer screen where you can create your mockup and choose colors.
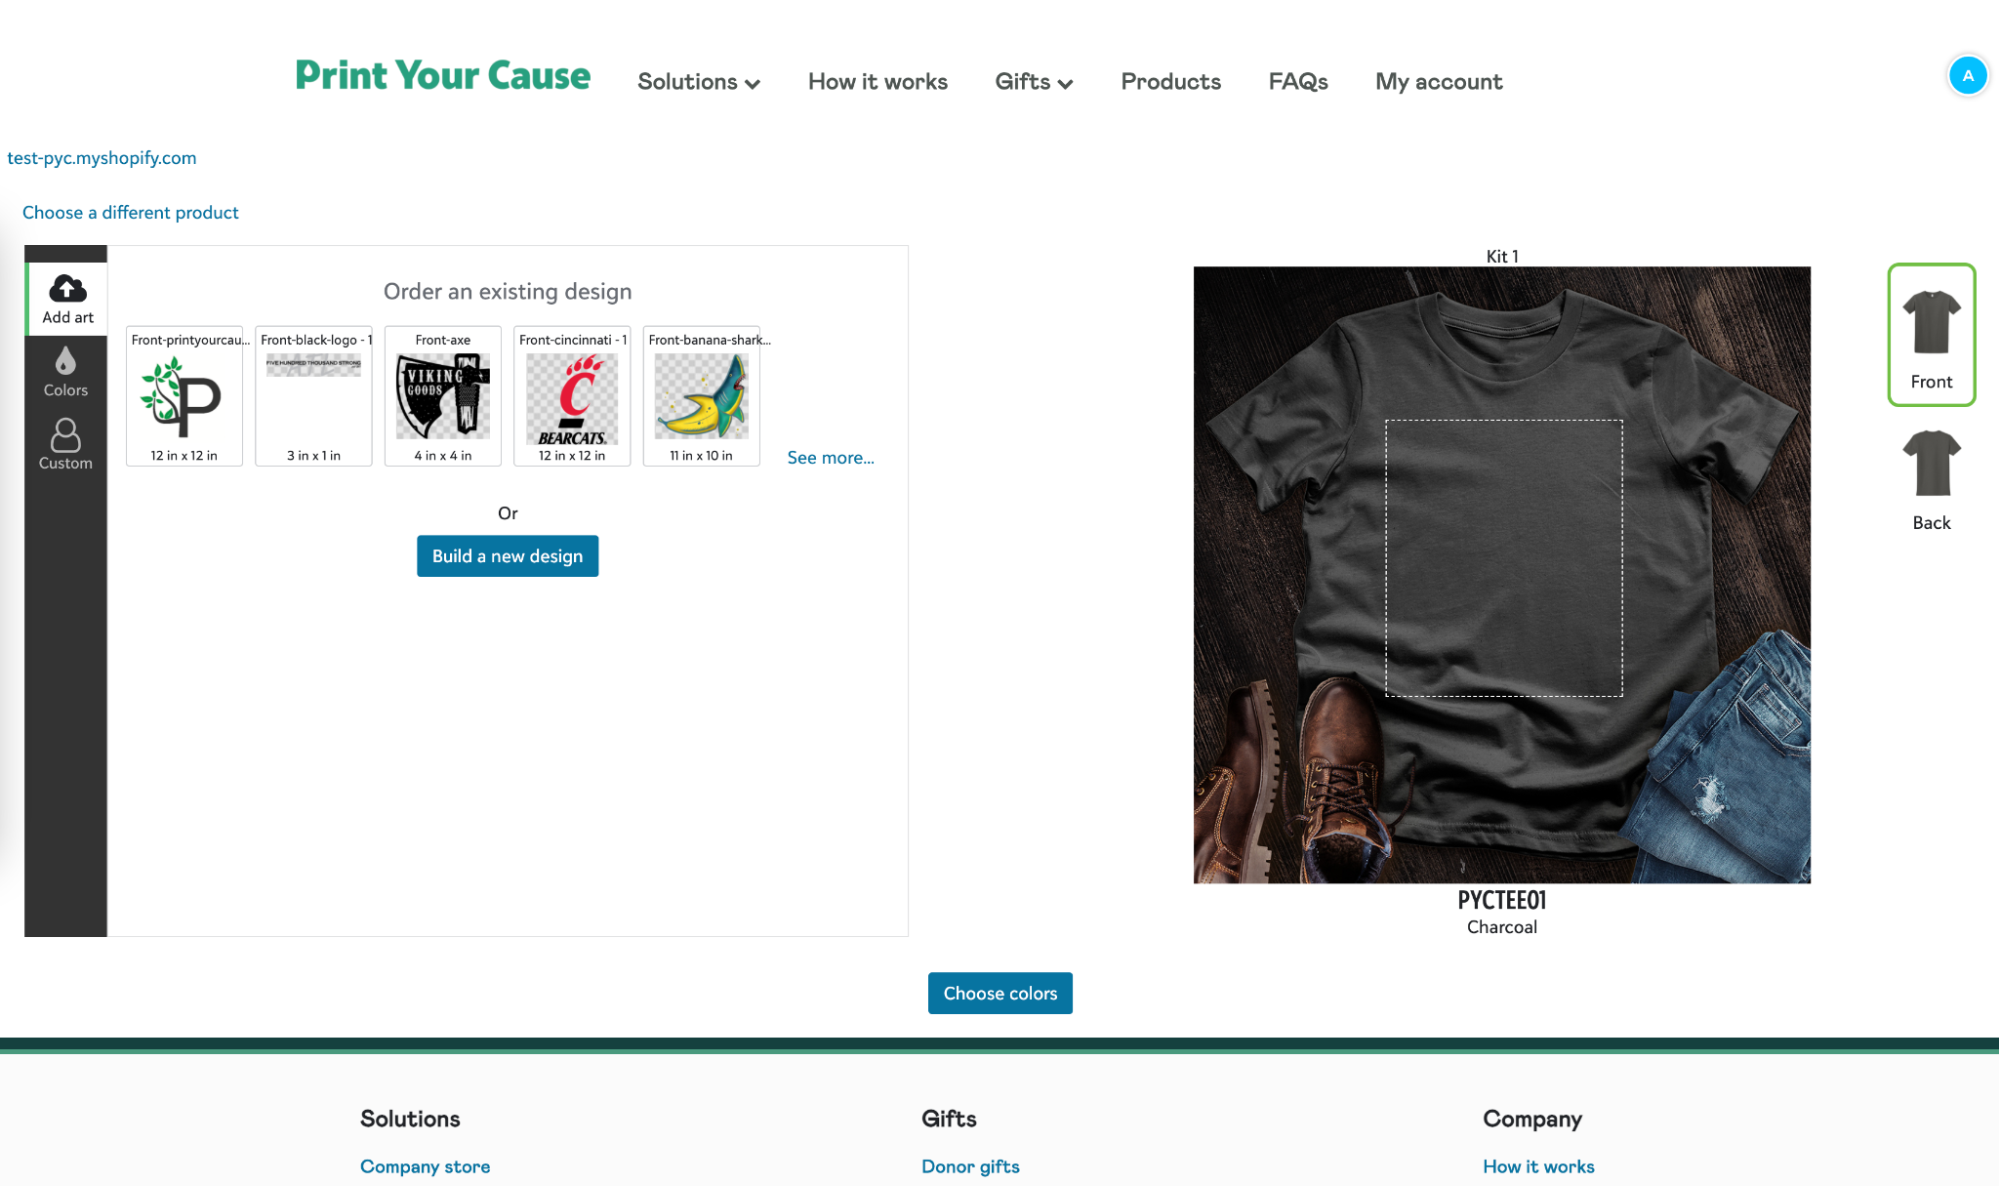
5. From the designer page you can upload a new design, choose existing artwork, or choose an existing design. In our example we'll be uploading artwork. Click on “Build a new design”.

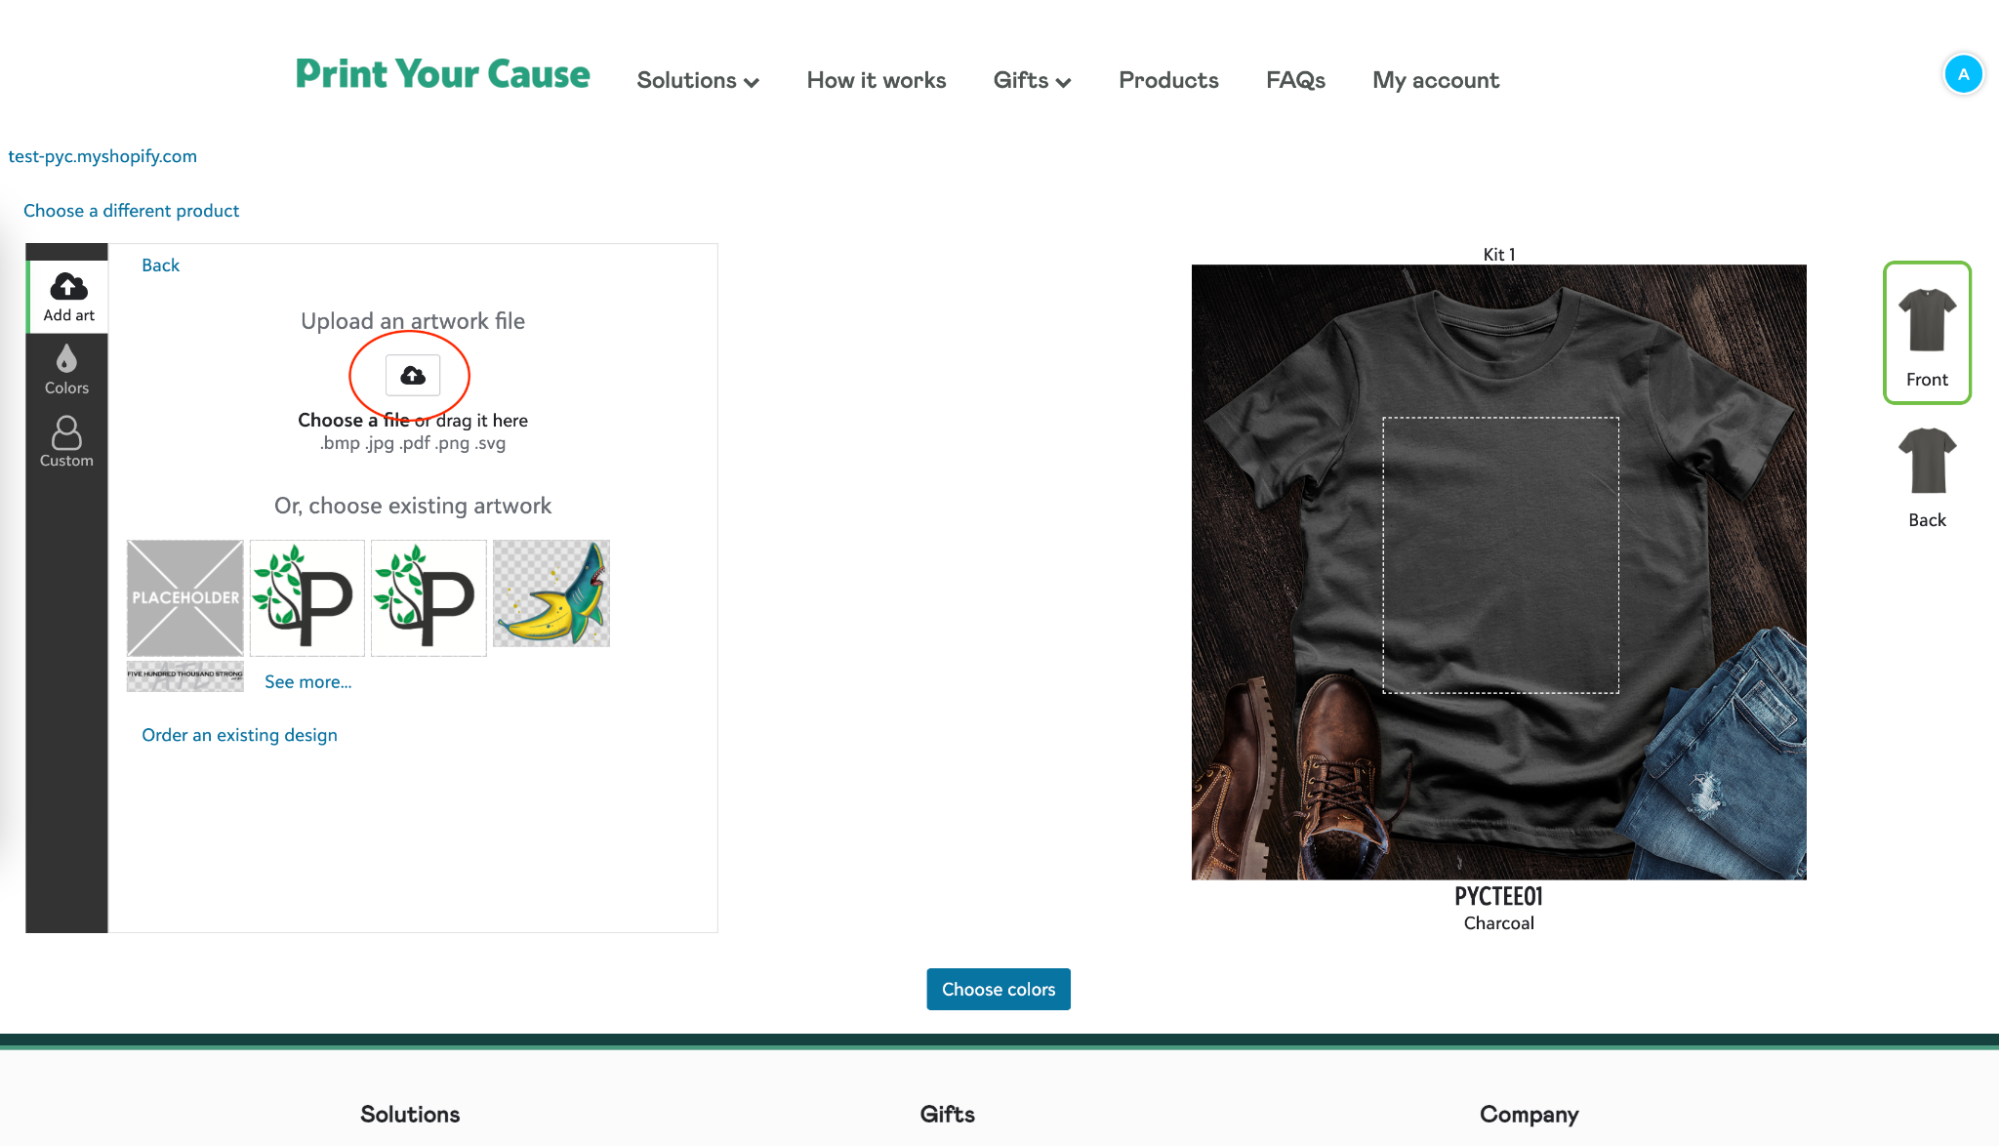
6. Then click on “upload artwork”.
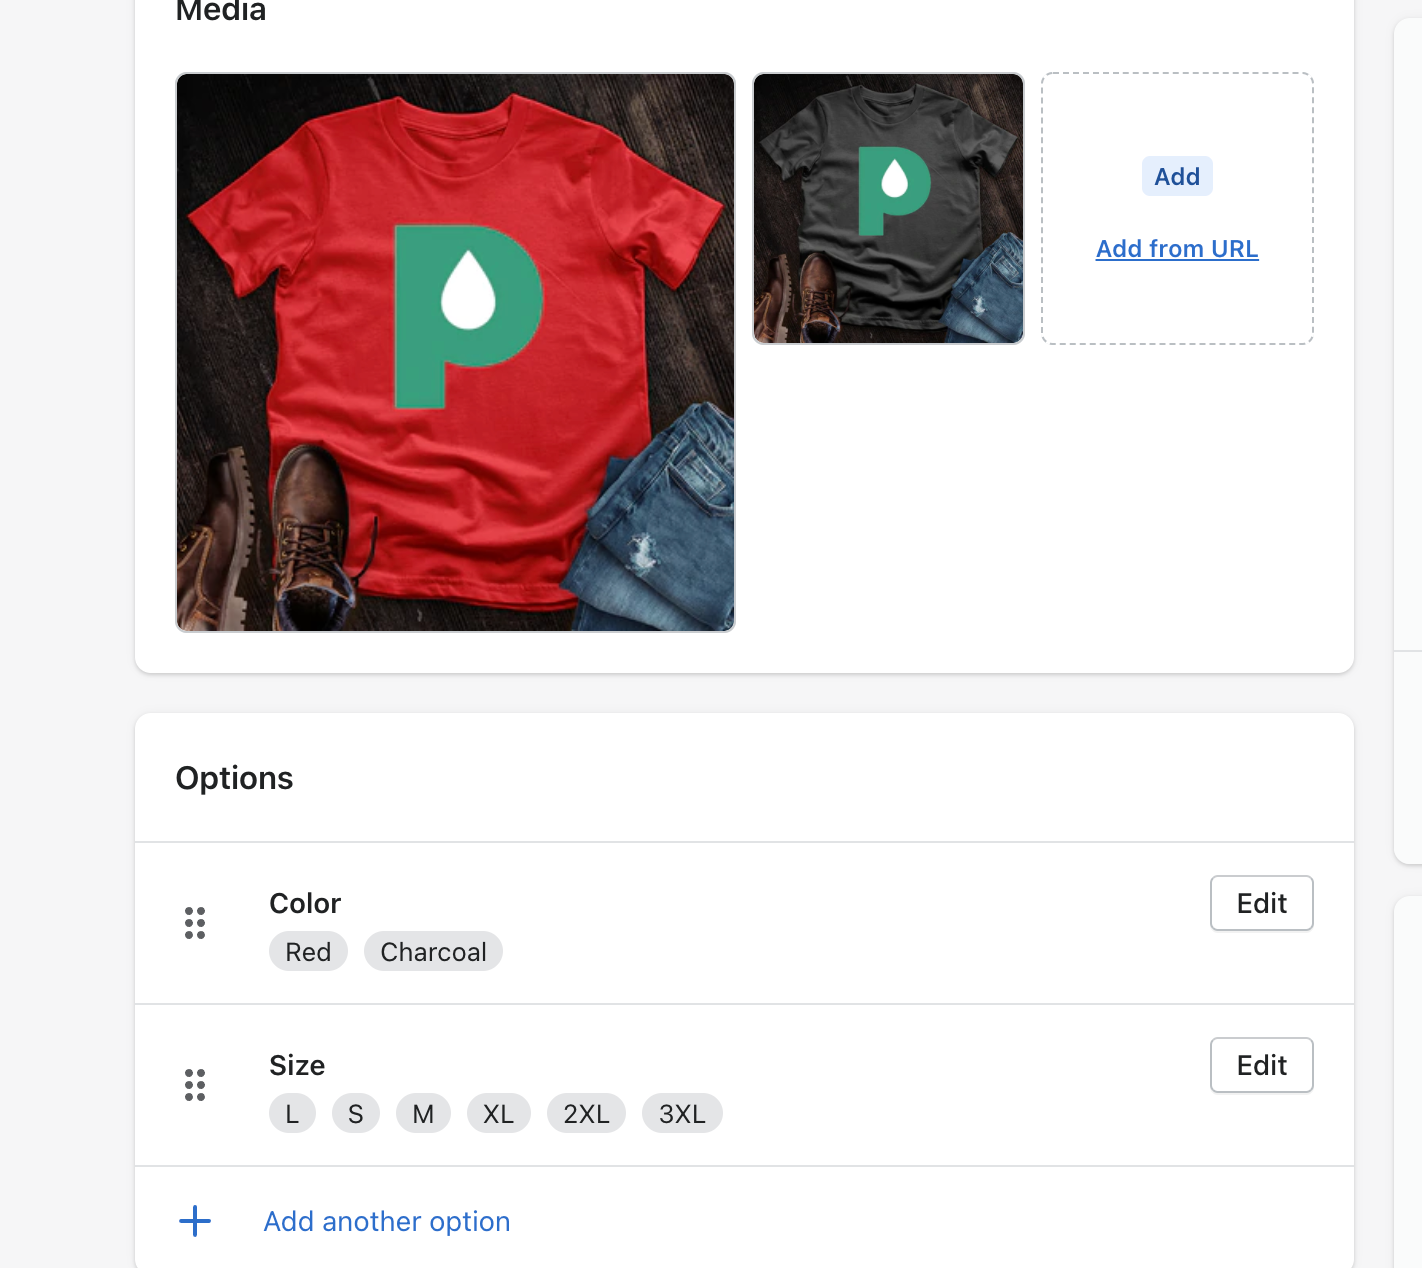
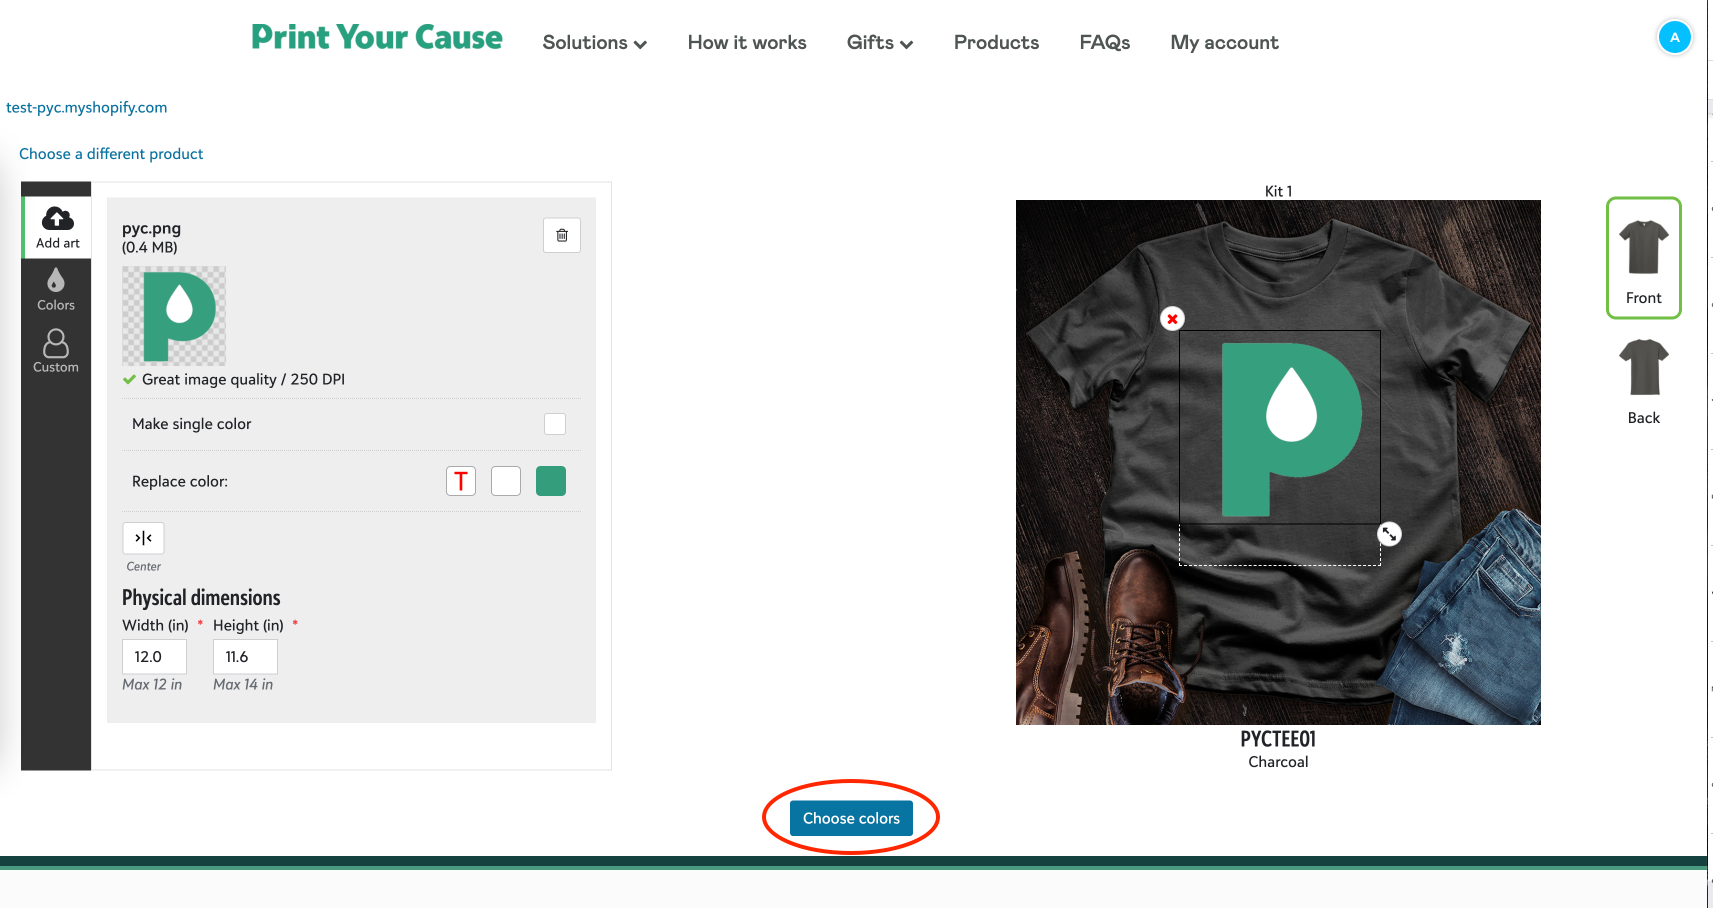
7. Once the image has uploaded and it has been positioned properly, you can choose your product colors.
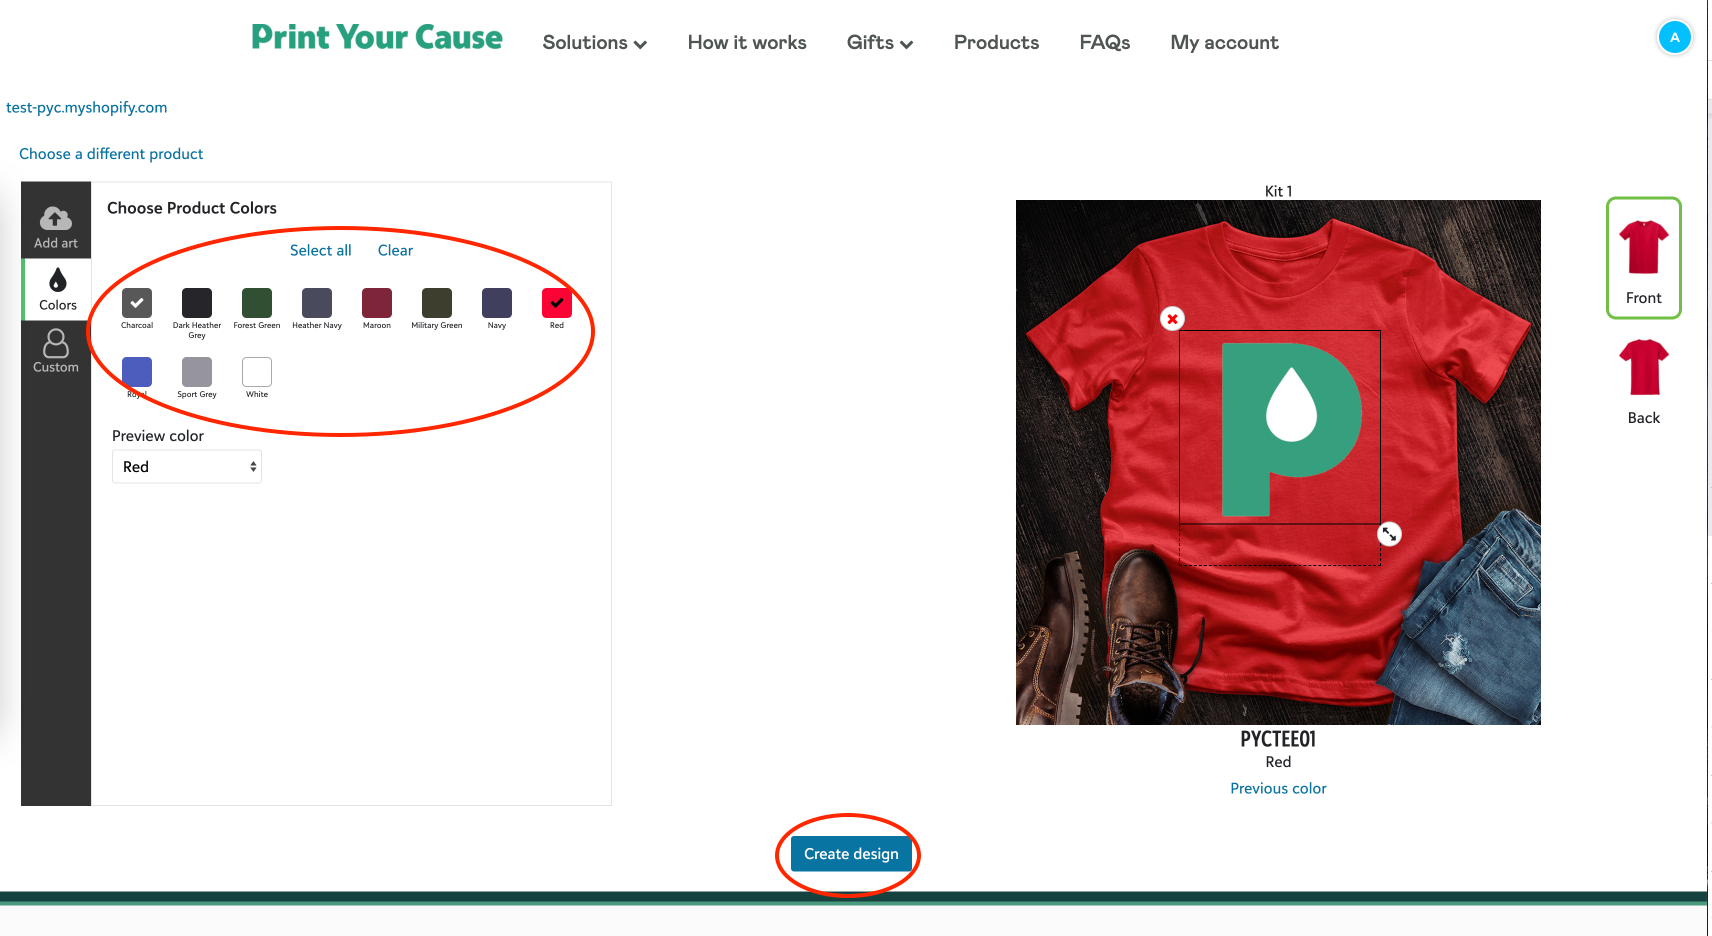
8. Choose your colors from the selection on the left, then click “Create design”.
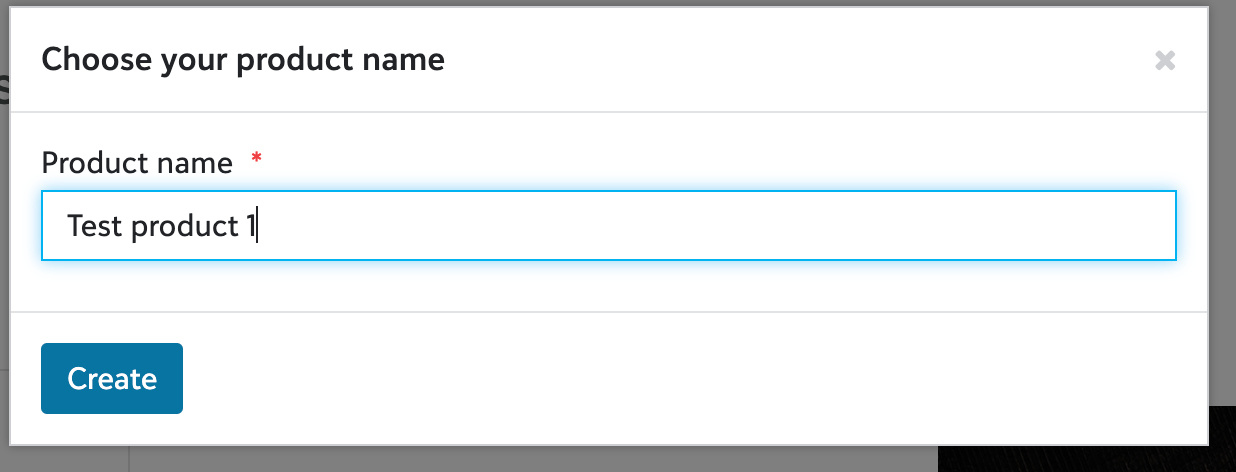
9. Choose a product name then click “Create”.
10. Once finished saving you will go back to your PYC products page. Your product will have successfully been synced in Shopify and PYC. You are ready!
* Note: The description and price fields in Shopify will default to the description and price of the last added product. So for example if we updated the description of Test product 1 in shopify to be “Description 1”, then the next PYCTEE01 product added in the PYC portal will have “Description 1” as the description in Shopify.