How To Add Background Design Kits to Your Fulfill Engine Design Portal
The purpose of design kits are to create background images for different products using the artwork of your choice. When using a kit, the system automatically creates a nice looking mockup for your store. This saves time because your designers do not have to manually create mockups for each product variant.
Note - Do not use a kit with wrinkles in the shirt. Do not use a kit with any rotation in the t-shirt angle. The shirt should be free of wrinkles and vertically straight up and down.
*This feature is only available to customers with a Shopify integration
1. On your Fulfill Engine campaign page there will be a link called “View campaign kits”.

2. From your kits page click “Create new kit group”. The kit group will be a collection of mockups for specific products in the catalog.

3. From the kit group page you can add kit records for specific products.


4. In this example we created a kit for the “64000” t-shirt. Next on the kit record page you will have to upload your background images.

5. From the images tab you can drag multiple files at once. TIP: If the image file names match the name of the product in Fulfill Engine then the color names will match up automatically.

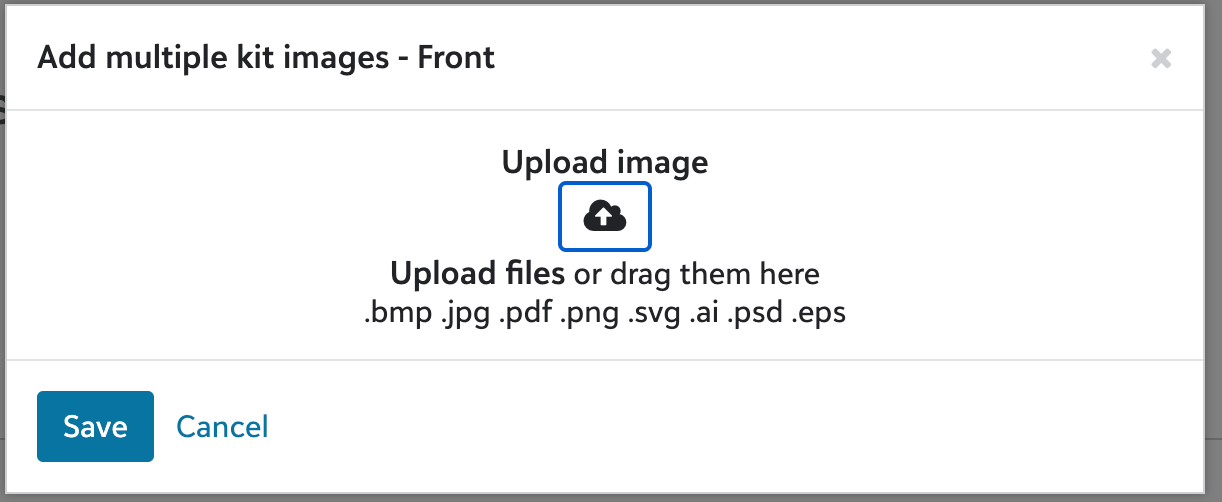

6. Click save and the images will be uploaded to the kit record.

7. If the files are named by the matching color in the Fulfill Engine catalog the colors will match up automatically. If not there will be a warning. To fix the error click on the context menu and click “edit”.
8. From this modal you can choose the correct matching color from the Fulfill Engine product.

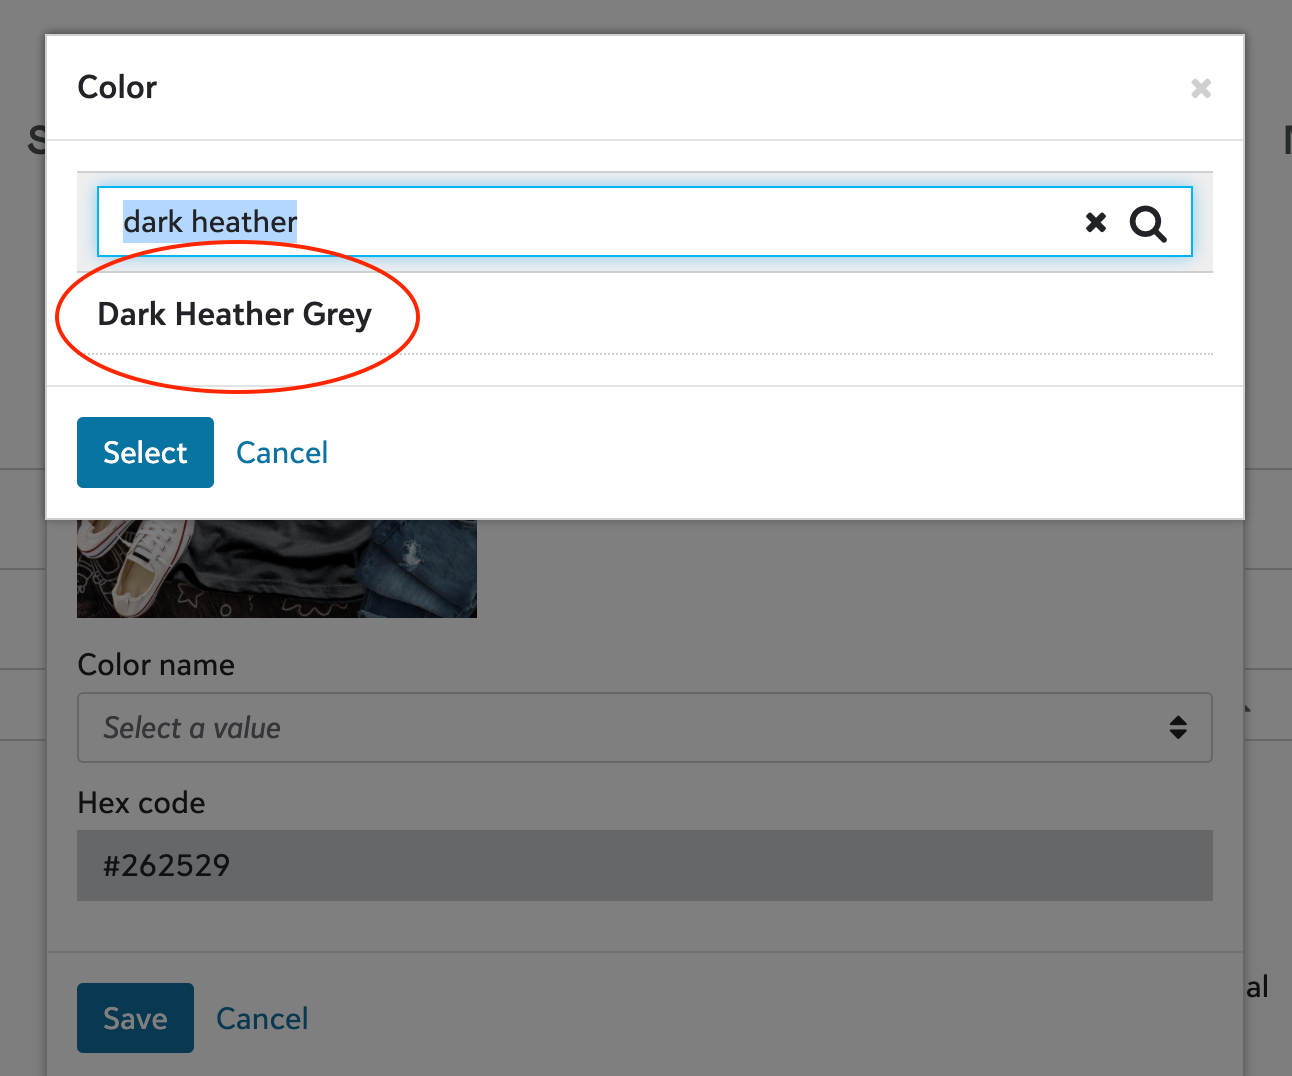
9. Once saved the error will go away.


10. Once the images are uploaded and colors are matched, you will need to add an “imprint size”. The “imprint size” will define where the artwork should be placed when creating the mockup images.

11. On the imprint size page you can create an imprint size.

12. From the imprint size modal you will have to resize and drag the box on the left to match the same position as the image on the right.


13. Once positioned and sized properly, then click save.

14. Now that the imprint size is saved. The kit is ready to be used. Click on the campaign name in the link to go back to your Fulfill Engine portal page.


15. From this page you can add products using the kit by clicking on the products link.

16. On the products page click “Add product”.

17. When choosing the same Fulfill Engine catalog product that matches your kit you will see the kit on your designer page.


18. When an artwork file is selected it will be placed on the kit image. The product will be pushed to Shopify with the automatically created mockup images.


